
U.S. Visa Photo Requirements: Size, Upload Rules, and How to Prepare
Use this guide to separate digital visa photo uploads from printed 2x2 inch photos. Check the current U.S. Department of State instructions, prepare a clean portrait at home, and review the final file before you submit it.
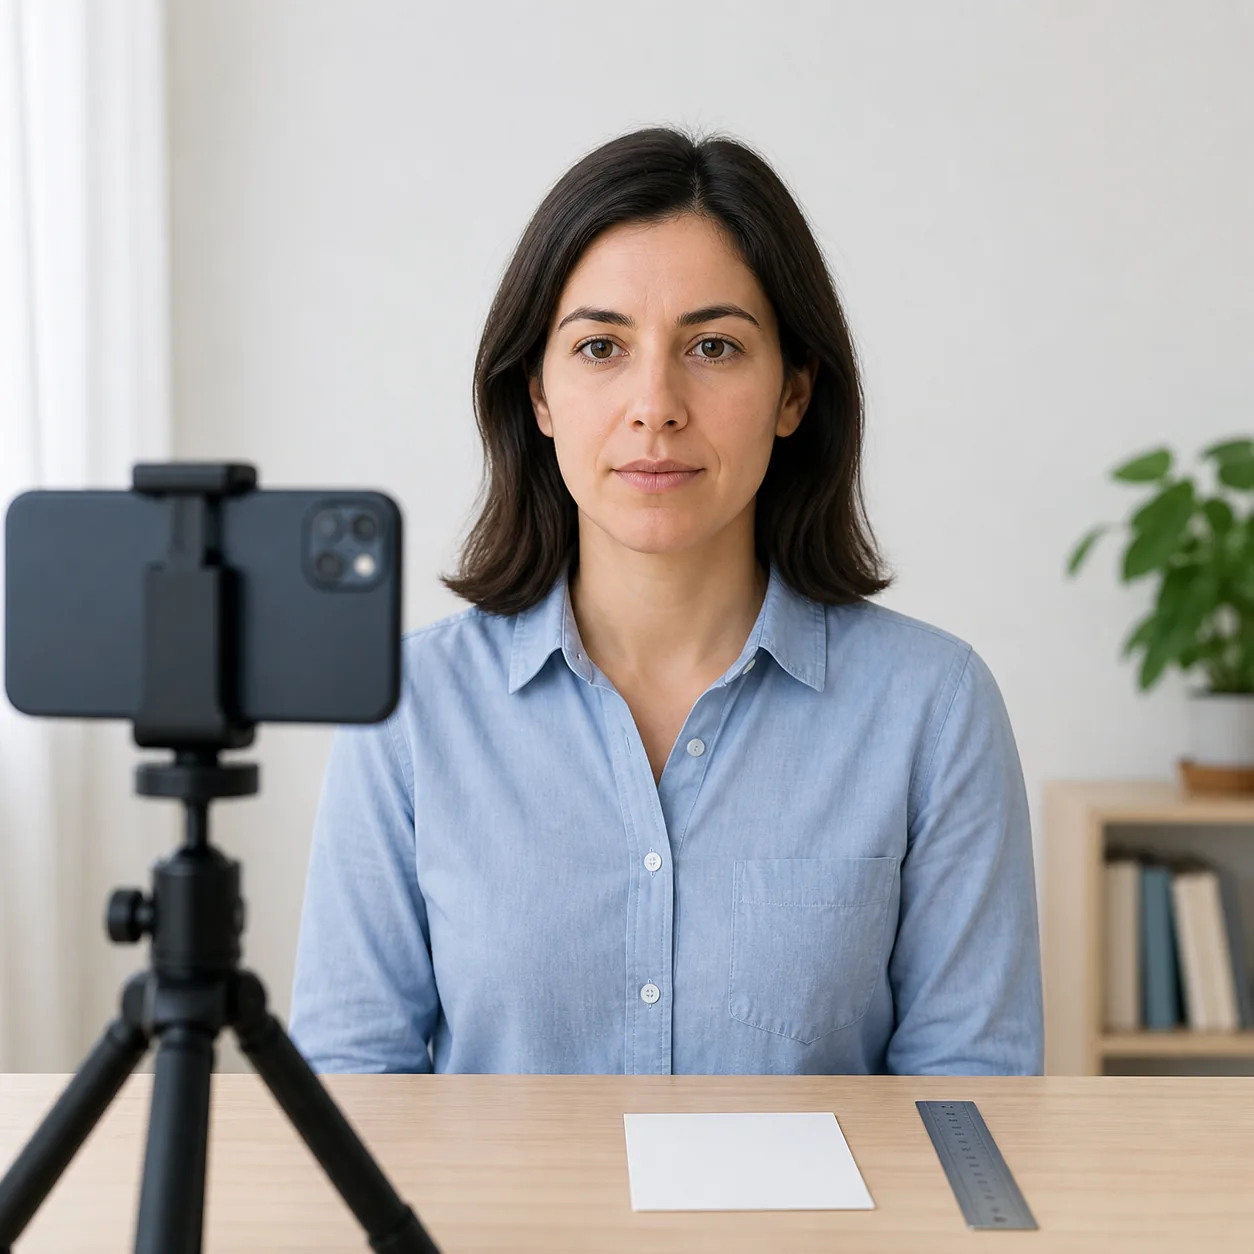
The phrase U.S. visa photo requirements covers more than one submission workflow. Some applicants upload a digital image during a nonimmigrant visa application, while immigrant visa instructions may ask for printed 2x2 inch photos. The safest approach is to identify the application type first, then match the live official checklist for its size, background, face position, file format, and submission channel.
What the official checklist is trying to verify
A good crop cannot fix a portrait that was captured with poor light, an angled camera, or a distracting background. Review the photo as an identity image, not as a social-media portrait.
- Your face is directly visible, sharp, centered, and recognizable, with both eyes open unless an official exception applies.
- The background is plain and light, with no pattern, furniture, strong shadow, glare, or visible support behind the head.
- Your head is upright and your shoulders face the camera; avoid a tilted phone that changes the apparent shape of the face.
- The expression is neutral and natural. Do not use a smile, beauty filter, face-changing edit, or heavy retouching for an official application.
- The image is recent and in color, with enough resolution for the final crop and no motion blur, compression damage, or lens flare.
- Glasses, hats, head coverings, uniforms, and religious or medical exceptions must be checked against the current official instructions rather than guessed.
- The final submission channel decides whether you need a digital JPEG, a printed photo, or both; do not use a print specification for an online upload without checking it.
Digital U.S. visa photo requirements
If your application asks you to upload a photo, use the digital-image instructions for that application. A square crop is only the starting point; pixels, file size, file type, background, and facial position all matter.
| Check | Practical reference | What to verify before upload |
|---|---|---|
| Shape and pixels | Square image; the official digital guidance commonly uses 600 x 600 to 1200 x 1200 pixels. | Follow the current application page if it displays a different limit or validation message. |
| File type and size | JPEG is the normal digital format; the official guidance lists a file-size ceiling for uploads. | Keep the original and a compressed working copy so you can adjust size without repeatedly editing the only file. |
| Background and lighting | Plain white or off-white is commonly expected for U.S. visa-style portraits. | Look for shadows behind the head, uneven skin lighting, glare, and a background that is not truly plain. |
| Identity and crop | Front-facing, neutral, recent, color portrait with the face and eyes clearly visible. | Inspect the full-size file before cropping and do not let the square frame cut off the hair or chin. |
The Department of State can update technical limits and application instructions. If the DS-160, appointment system, embassy, consulate, or visa center shows a current requirement that differs from a general guide, follow the instruction attached to your application.
Printed 2x2 inch photos for immigrant visa workflows
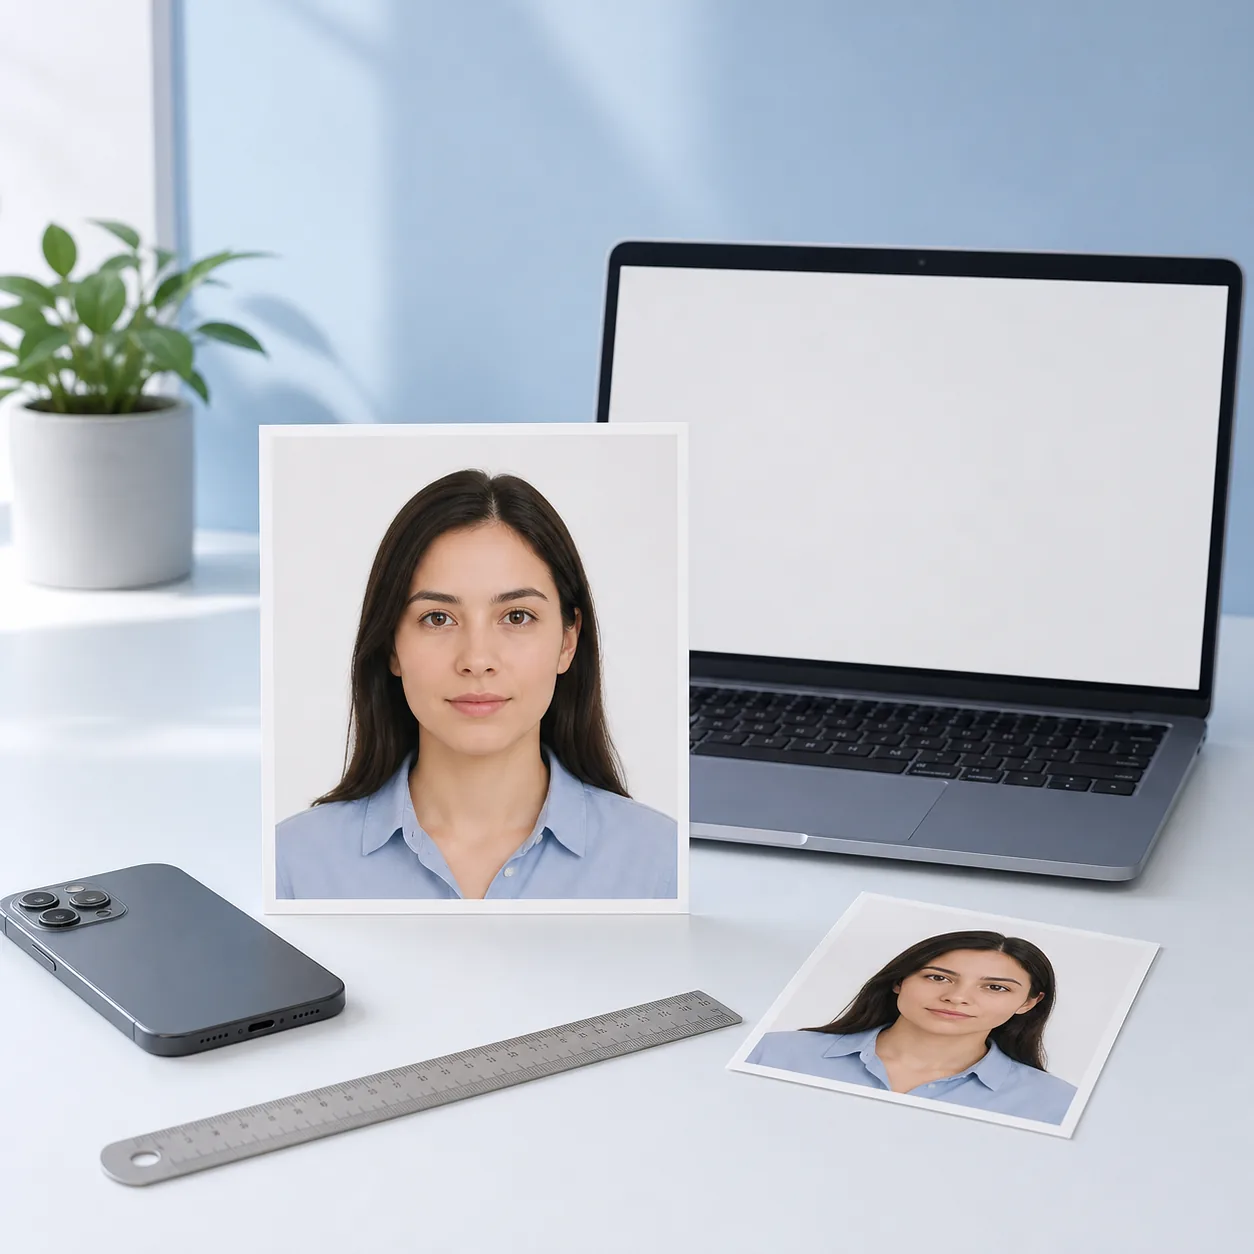
Printed requirements are measured on paper, not by the size of the image on your phone. When your immigrant visa instructions ask for printed photos, prepare the common 2x2 inch format and then verify the exact number, paper, background, and delivery instructions for your case.
- A 2x2 inch photo is 2 inches by 2 inches, or about 51 x 51 mm, with a square 1:1 shape.
- Print in color on photo-quality paper when the instruction asks for a physical photograph, and keep the finished copy at actual size.
- Use the required number of identical photos and do not assume that a digital upload replaces a printed-photo request.
- Turn off fit-to-page scaling, measure one printed copy, and compare the head position and background with the official checklist.
- Keep a clean digital backup of the source portrait and the final crop in case the appointment or visa center asks for another copy.
How to take a U.S. visa photo at home
Prepare the camera and room
Clean the camera lens and place the phone or camera on a stable support at eye level. Use the regular photo mode, not portrait blur or a beauty preset. A helper or timer is usually better than holding the phone close to your face, because distance reduces wide-angle distortion.
- Keep the lens parallel to your face rather than pointing up or down.
- Use the rear camera when another person can help, or use a timer on a stable tripod.
- Take several original frames and keep the sharpest file before any crop or compression.
Choose a plain background and soft light
Stand in front of a plain white or light wall where the face and background are evenly lit. Face a bright window or use broad indirect light. Do not stand with a bright window behind you, and avoid direct sunlight that creates hard shadows or a squint.
- Move plants, shelves, patterned curtains, and other objects out of the frame.
- Check for a shadow behind the head and for darker clothing merging into the wall.
- Avoid flash glare, strong side light, and automatic background effects that look artificial.
Hold a document-ready pose
Face the camera directly with your shoulders square, head upright, eyes open, and mouth relaxed. Leave enough space around the head and upper shoulders so the final crop can be adjusted without cutting the hair, chin, or sides of the face.
- Look at the camera lens, not at your reflection on the screen.
- Keep hair, accessories, and clothing from hiding the face or creating confusing edges.
- Check the current official rules for glasses, head coverings, and any permitted exception.
Select the cleanest original
Review each frame at full size before you open a crop tool. Pick the image with the clearest eyes, the most even light, and the least motion blur. If the camera angle is tilted or the background has a visible shadow, take another frame instead of trying to repair it with a filter.
- Zoom in on the eyes, hairline, chin, and image edges.
- Reject lens flare, strong compression, closed eyes, a tilted head, and accidental smiles when the checklist expects neutral expression.
- Save the original source file until the application or appointment has accepted the final image.
Crop, resize, and export for the right channel
Use the 2x2 Photo Maker when your instructions call for a square 2x2 inch photo, or use the exact digital settings listed by the application. Review the face position after cropping, then export a file type and size that the receiving portal accepts. A prepared file is not a guarantee of approval, so keep the final official check as the last step.
- Use a 1:1 crop for a 2x2 print, but do not assume every digital visa workflow uses the same head position.
- If the upload rejects the file, check pixels, JPEG encoding, file size, and color mode before changing the portrait.
- For printing, use actual-size output and measure the paper instead of relying on fit-to-page.
Common reasons a visa photo is rejected
Most problems are visible before submission. A final review on a larger screen or a printed test copy often catches them earlier than the application portal does.
- Using a selfie taken too close to the face, which creates wide-angle distortion.
- Uploading a photo with a shadow, patterned wall, furniture, or a bright window behind the subject.
- Assuming that a white background and a 2x2 crop automatically satisfy every U.S. visa workflow.
- Using filters, portrait blur, face retouching, or an edit that changes identity details.
- Cropping off hair, chin, shoulders, or the sides of the face before checking the required framing.
- Submitting a file with the wrong pixel dimensions, JPEG settings, file size, or print scaling.
- Treating a general website checklist as more authoritative than the current Department of State, embassy, consulate, or visa-center instructions.
Choose the next tool for your workflow
This guide explains the rules and review steps. Use a focused tool only after you know the size and submission channel required by your application.
Official U.S. sources to check
Use these first-party pages as the final authority. Requirements can change by application type, submission channel, embassy, consulate, or visa center, so check the page connected to your case before you upload or print.
- U.S. Department of State visa photo guidance
General U.S. visa photo instructions and links for applicants. - Digital image requirements
First-party technical guidance for digital photo uploads, including pixels and file checks. - Photo composition template
Visual framing guidance for head position, eye line, background, and composition. - U.S. Department of State photo tool
Official tool for checking and cropping a U.S. passport-style photo.
Prepare the square file after you confirm the rule
If your application calls for a 2x2 inch photo, upload a clean portrait to the 2x2 Photo Maker, review the crop and background, then compare the exported file with the current official U.S. visa instructions before submitting.
Open the 2x2 Photo MakerU.S. Visa Photo Requirements FAQ
What size is a U.S. visa photo?
It depends on the application workflow. Many digital visa uploads use a square image with application-specific pixel and file-size limits, while printed immigrant visa instructions commonly ask for two identical 2x2 inch photos. Check the current instruction attached to your application.
Can I take a U.S. visa photo at home?
You can capture the starting portrait at home with a stable camera, even light, a plain background, and a neutral front-facing pose. You still need to crop and export it to the current official digital or printed requirement.
Is a passport photo the same as a U.S. visa photo?
They can share a similar front-facing style, but the submission channel and technical rules may differ. Do not assume that a passport photo file meets a visa upload or printed-photo instruction without checking the official source.
Can I use a selfie for a visa photo?
A selfie can be the starting image if it is sharp, front-facing, evenly lit, and not distorted by a close camera distance. A timer, tripod, or helper usually produces a more natural document portrait.
Can I smile in a U.S. visa photo?
Use a neutral, natural expression unless the current official guidance for your application says otherwise. A relaxed mouth, open eyes, and a fully visible face are safer than a broad smile or exaggerated pose.
Can I wear glasses or a head covering?
Do not guess. Glasses, head coverings, religious clothing, and medical exceptions can have specific conditions. Check the current Department of State guidance and any case-specific embassy or consulate instruction.
Does this page or tool guarantee visa approval?
No. A generator can help with crop, background, pixels, and output format, but only the reviewing authority can decide whether the submitted photo is accepted for your application.