
How to Make Passport Size Photo Online Free
Use a phone or existing portrait to make passport size photo online free, from setup and cropping through pixels, printing, file checks, and the final authority review.
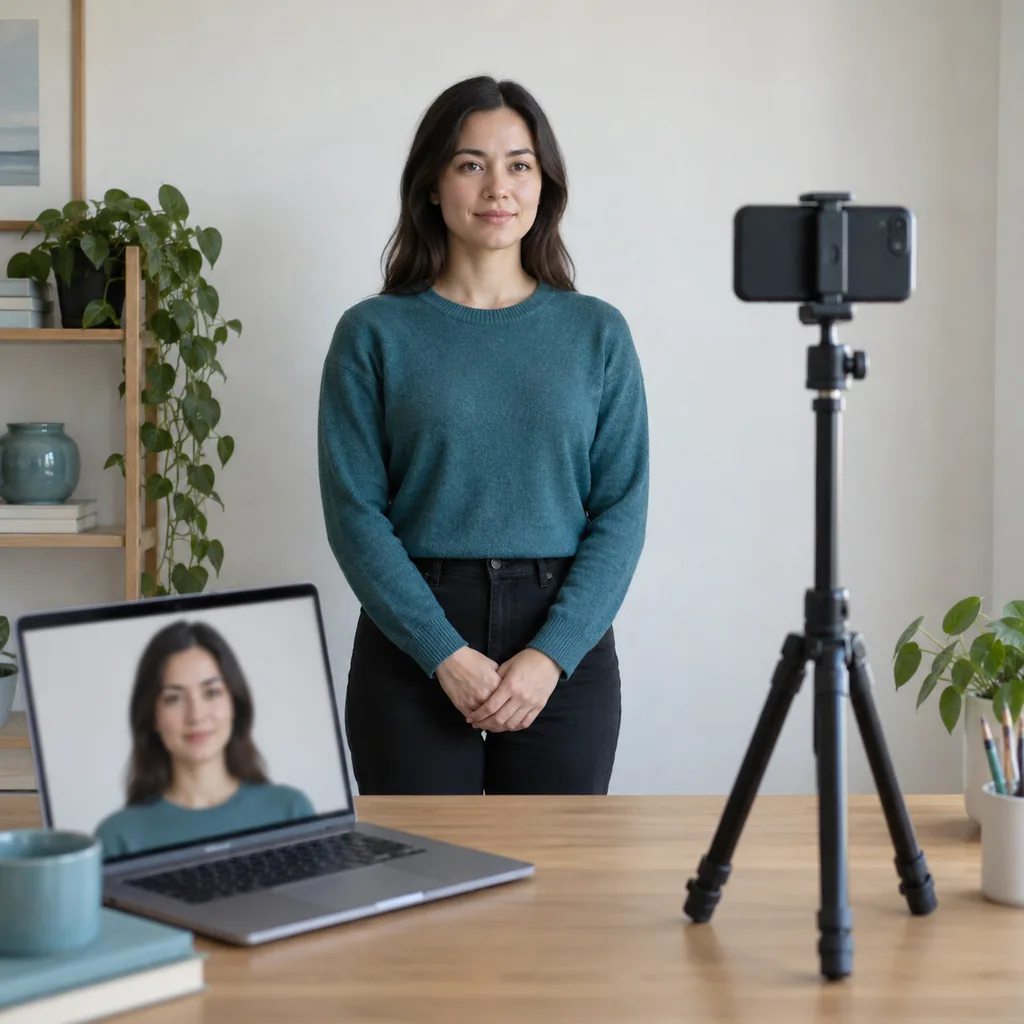
You do not need a studio to make passport size photo online free. Start with a sharp, front-facing portrait, confirm the document size, crop without stretching, export in the requested format, and inspect the file before uploading or printing. The tool prepares the file; the issuing authority decides acceptance.
What you need before you start
Gather the document instructions first. Passport size can mean different physical dimensions, pixel limits, backgrounds, and upload rules. A quick check prevents a well-cropped file from being the wrong file.
- The current physical or digital dimensions, aspect ratio, pixel range, and maximum file size listed by the receiving authority.
- A clean portrait with the full face visible, natural skin detail, a straight head position, and no beauty filter or face-changing edit.
- A plain background and broad, soft light. Avoid strong shadows, glare, patterned walls, and bright windows behind the subject.
- The original image file, a working copy, and enough storage to keep both the source and the final export until the submission is accepted.
How to make passport size photo online free
Read the exact photo instructions
Start with the form, passport office, embassy, school, employer, or visa portal receiving the image. Note whether it wants a digital upload, a printed photo, or both. Record width, height, background, head-size guidance, file type, pixel range, and maximum file size. A 2x2 inch or 35x45mm preset is not universal.
- Copy the required size into a short checklist before opening the tool.
- Look for separate digital and printed instructions; they may use different pixels or margins.
- Check the date of the official guidance when a time-sensitive application is involved.
Prepare a simple portrait setup
Use a clean lens, stable phone or camera, and a plain wall with room for your shoulders. Keep the camera parallel to your face at eye level. Soft front light is easier to control than direct sun or a small flash. If possible, use the rear camera with a timer; otherwise use a tripod or stable surface.
- Use the normal photo mode, with portrait blur, filters, and face retouching turned off.
- Leave room around the head and shoulders so the final crop is not forced.
- Remove background objects that can create edges, reflections, or confusing shadows.
Take several straight, neutral frames
Look at the lens, keep both eyes open, relax your mouth, and hold your head upright with level shoulders. Take several frames without changing the light or camera position. Multiple originals help you reject blinks, motion blur, uneven expressions, and small shadows.
- Keep glasses, head coverings, and other exceptions aligned with the authority's written guidance.
- Avoid a smile, dramatic pose, tinted glasses, hats, or an edit that changes facial features unless an official exception applies.
- Review the image at full size and keep the original capture untouched.
Choose the correct size preset
Open the Passport Size Photo Maker and select the preset that matches the instructions. Common choices include 2x2 inches for some U.S. applications and 35x45mm for many European documents, but those examples are not universal rules. If the authority gives millimeters, inches, or custom pixels, enter those values instead of converting from memory. Keep the aspect ratio locked so the portrait is cropped rather than stretched.
- Use the custom-size option when the form lists a size that is not one of the presets.
- Confirm whether the portal wants one photo, several photos on a print sheet, or a single digital file.
- Do not substitute a similar-looking ID or visa size without checking the receiving authority.
Crop and review the face position
Upload the sharpest portrait and crop it inside the selected frame. Keep the face centered, preserve the natural shape of the head, and leave the headroom or shoulder visibility requested by the document. Inspect the eyes, hairline, chin, and background edge at a larger zoom. If the crop is too tight, return to the original rather than enlarging a small file until it becomes soft.
- Use a 1:1 crop for a square request and the exact ratio for a rectangular request.
- Never stretch, mirror, or liquify the face to fill the frame.
- Compare the preview with the official example when the authority publishes one.
Export, print, and check the final file
Download the finished digital file in the requested format and keep a working copy. If you need paper photos, use a print layout or a local photo printer and select actual size instead of fit-to-page. Open the exported file after downloading to confirm that it is not blank, rotated, compressed beyond the portal limit, or saved with the wrong extension. A quick measurement of a printed copy catches scaling errors that a screen preview cannot show.
- Confirm width, height, pixels, file type, and file size in the exported file properties.
- Print one test sheet at actual size before making multiple copies.
- Submit only after comparing the final image with the current official checklist.
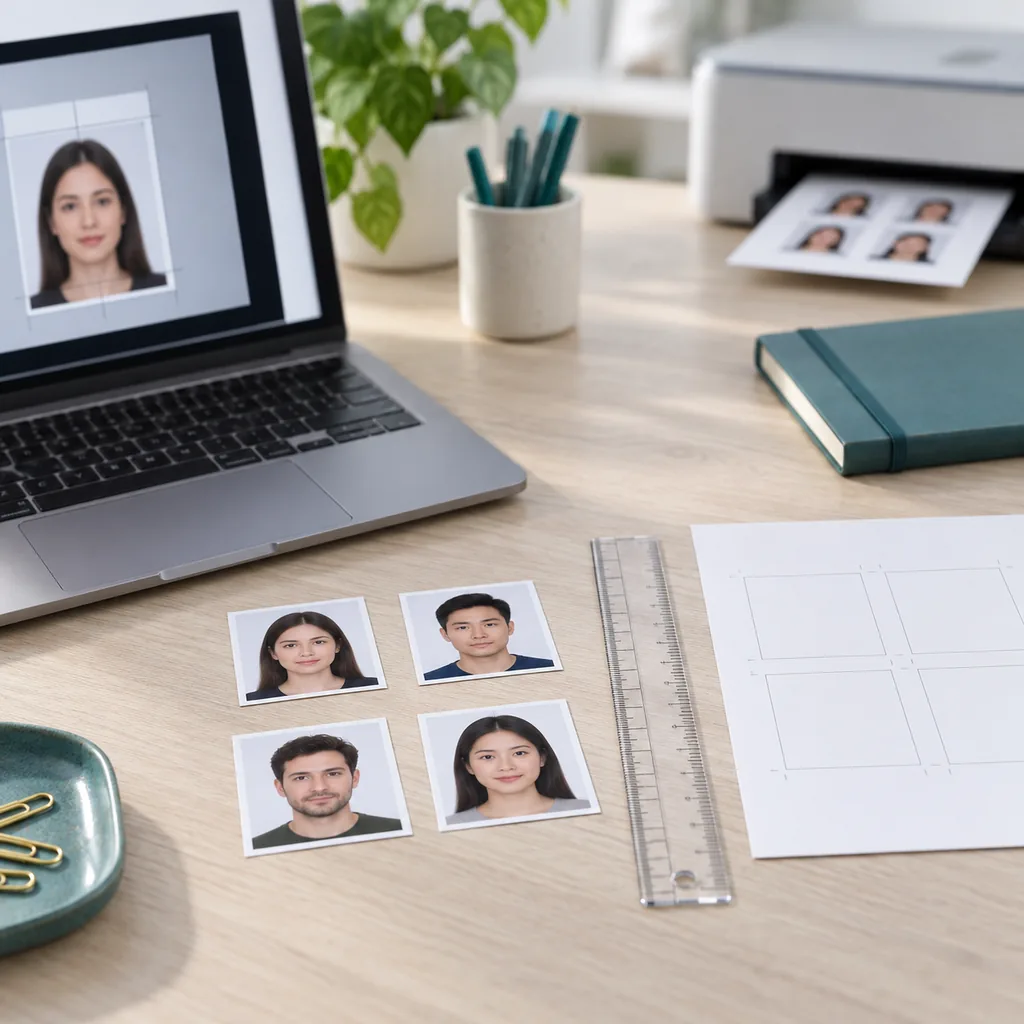
Check the passport photo size before submission
Physical dimensions, pixel dimensions, and print resolution describe different parts of the same file. Use the table as a practical review, then follow the receiving authority when its numbers differ.
| Check | Practical example | What to verify |
|---|---|---|
| Physical size | 2 x 2 in / about 51 x 51 mm | Measure a printed copy if the application asks for paper photos. |
| Rectangular size | 35 x 45 mm or another listed ratio | Use the authority's width and height; do not infer them from the phrase passport size. |
| Pixel size | 600 x 600 px is a common 2x2 reference | Follow the upload portal if it specifies another pixel range or file limit. |
| Print scale | Actual size, no fit-to-page | Print a test and measure the finished photo with a ruler. |
A correct ratio does not guarantee acceptance. Background color, head position, expression, glasses, editing, file compression, and the authority's current rules can all matter.
A final quality checklist
Before sending the photo, review the exported file as if you were checking the application. This separates a correct crop from a usable submission.
- The face is sharp at normal viewing size, with visible eyes and no motion blur.
- The head is upright and centered, with the requested amount of headroom and shoulders.
- The background is even and free of strong shadows, glare, patterns, and accidental objects.
- The file opens normally, uses the requested extension, and stays below the portal's size limit.
- The print is measured at the requested physical size and the digital backup is stored safely.
- The final comparison was made against the current official guidance, not an old social post or a generic template.
Common mistakes that cause rework
Most problems happen after the portrait is taken. A short review is faster than redoing an application or paying for a second print run.
- Choosing a preset because its name sounds familiar instead of matching the dimensions on the form.
- Cropping a selfie taken too close to the face, which can create wide-angle distortion.
- Using portrait blur, beauty retouching, face reshaping, or a background effect that changes the original image.
- Leaving a window, lamp, plant, shelf, or dark edge visible behind the head.
- Printing with fit-to-page enabled and never measuring the finished copy.
- Deleting the original after export, so there is no clean source if the crop or file size needs to be changed.
A reliable order for the whole workflow
Keep the process simple and reversible. Finish each check before moving to the next one:
- Save the official instructions and the original portrait in separate folders.
- Make a working copy, choose the matching preset or custom size, and crop without stretching.
- Review the face, background, file properties, and export format before printing or uploading.
- Print one test at actual size when paper is required, measure it, and keep the digital backup.
- Submit through the official portal and keep the final file until the application has been accepted.
Ready to prepare the file?
Open the Passport Size Photo Maker to crop a portrait, choose a common or custom size, and prepare a digital or printable output. Use the guide above as your review checklist.
Open the Passport Size Photo MakerOfficial references to check
Use first-party instructions for the document you are applying for. The examples below are useful starting points, but requirements can change by country, document, and submission channel.
- U.S. Department of State passport photo requirements
Official guidance for U.S. passport photos, including size, background, expression, and quality. - UK passport photo rules
Official digital and printed photo guidance for UK passport applications. - Canadian photo specifications
First-party specifications for Canadian immigration and passport-style photographs.
Passport size photo online FAQ
Can I make a passport size photo online for free?
Yes. You can start with a clean portrait, choose the required dimensions in an online tool, crop and export the file, then review it against the current instructions. Free preparation does not guarantee approval by the receiving authority.
What is the best size for a passport photo?
There is no single worldwide passport size. Some applications use 2x2 inches, while others use 35x45mm, 50x70mm, or a different specification. Use the exact width, height, pixels, and background rule from the authority handling your document.
Can I use a normal phone photo?
Usually, a phone photo can be a good source if it is sharp, evenly lit, front-facing, and free from filters. Keep the camera at eye level, avoid a close selfie, and check the full-size original before cropping.
Is 600 x 600 pixels always a 2x2 passport photo?
No. 600 x 600 pixels is a common reference for a two-inch square at 300 DPI, but a portal may require different pixels, compression, or a physical print. Physical size and digital pixels should be checked separately.
Can I print passport photos at home?
You can when the document accepts printed photos and your printer can hold the requested dimensions. Choose actual-size printing, turn off fit-to-page, print a test, and measure the result before making copies.
Does an online passport photo maker guarantee acceptance?
No. An online tool can prepare the crop, size, and file, but only the passport office, embassy, employer, school, or other receiving authority can decide whether the finished photo meets its current rules.