How to Take a 2x2 Passport Photo on iPhone
Use your iPhone to capture a clean, front-facing portrait, then prepare it as a 2x2 inch photo for a passport, visa, ID, or form workflow. The steps below focus on a repeatable home setup and a final check against the current authority instructions.
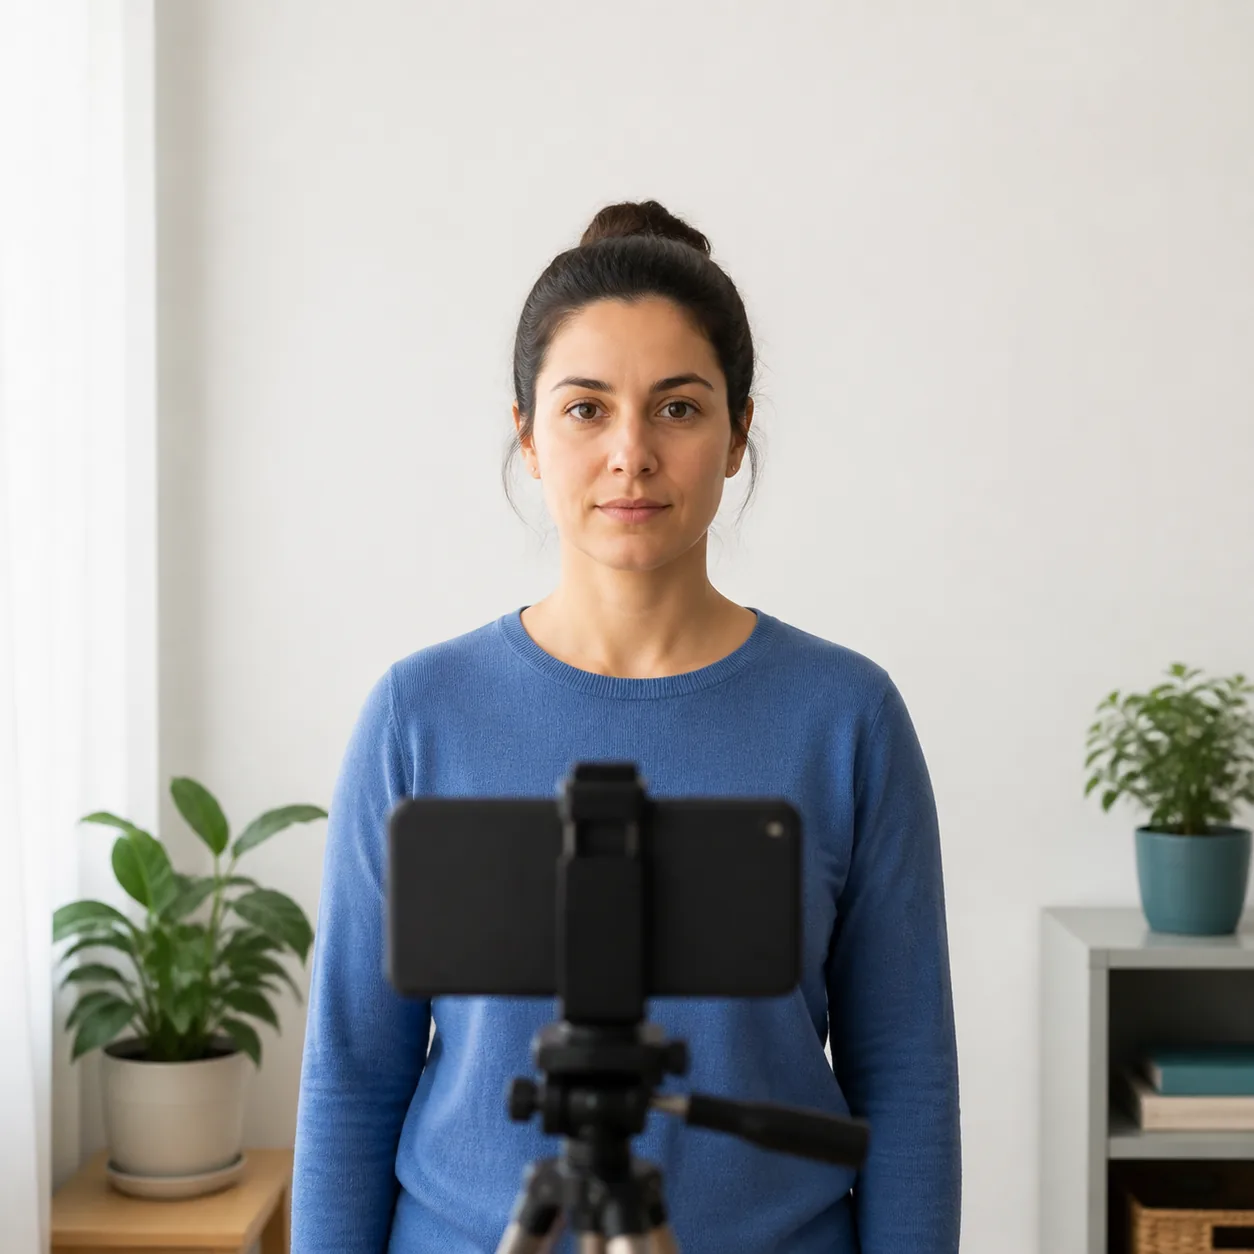
You do not need a studio to start a 2x2 passport-style photo. A clean lens, a stable iPhone, a plain background, soft light, and a careful final crop are more important than an expensive camera. Take several original frames, keep the sharpest one, and use the exact instructions for the document you are submitting.
Step-by-step: take the photo with an iPhone
Clean the lens and prepare the phone
Wipe the rear camera lens with a soft cloth. Use the rear camera when another person can help, because it usually gives you a better view than holding the phone close in selfie mode. If you must work alone, place the phone on a stable tripod or shelf and use the timer.
- Use the regular Photo mode rather than a filter or a stylized effect.
- Turn off beauty filters, portrait blur, and strong color effects.
- Keep the phone stable and make sure the camera lens is not blocked.
Choose a plain background and soft light
Stand in front of a plain light wall or another background allowed by your document checklist. Face a bright window or use broad indirect light. The goal is an even face and background, not a dramatic portrait with hard shadows.
- Avoid direct sunlight, flash glare, strong shadows, and a bright window behind you.
- Move plants, shelves, patterned curtains, and other distractions out of frame.
- Check that your hair and shoulders do not merge into a dark background.
Position the iPhone at eye level
Set the camera at approximately eye level and keep it parallel to your face. A phone that points up or down can change the shape of your face and shoulders. Leave a little space around the head and upper shoulders so the final square crop is flexible.
- Look directly at the camera lens, not at your reflection on the screen.
- Keep your shoulders square and your head upright.
- Use the timer so you can relax your hands and hold still.
Use a neutral, document-ready expression
Keep both eyes open, your mouth relaxed, and your face fully visible. Wear ordinary clothing that does not cover the face. Glasses, head coverings, and religious or medical exceptions can have document-specific rules, so compare the result with the issuing authority before you submit.
- Do not use a smile, exaggerated pose, heavy retouching, or a face-changing filter.
- Remove hats and tinted glasses unless the official instructions allow an exception.
- Take several frames so blinking or motion blur does not decide the final image.
Select the sharpest original frame
Review the photos at full size before cropping. Choose the frame with the clearest eyes, even lighting, straight posture, and the least motion blur. Do not crop so tightly that the hair, chin, or shoulders are cut off before the 2x2 layout is prepared.
- Zoom in and inspect the eyes, hairline, and edges of the face.
- Reject images with a tilted phone, lens flare, uneven background, or visible shadow.
- Keep the original file until the final upload or print has been accepted.
Crop and export the 2x2 version
Upload the selected frame to the 2x2 Photo Maker, keep the square 2x2 inch preset, and review the head position before downloading. Use PNG or JPG for a digital upload and a print layout when you need physical copies. The tool helps prepare the file; it does not replace the authority's final review.
- Use the 1:1 crop and keep the face centered with comfortable headroom.
- Check the requested pixel limit and file type for the receiving portal.
- If printing, print at actual size and measure the result instead of using fit-to-page.
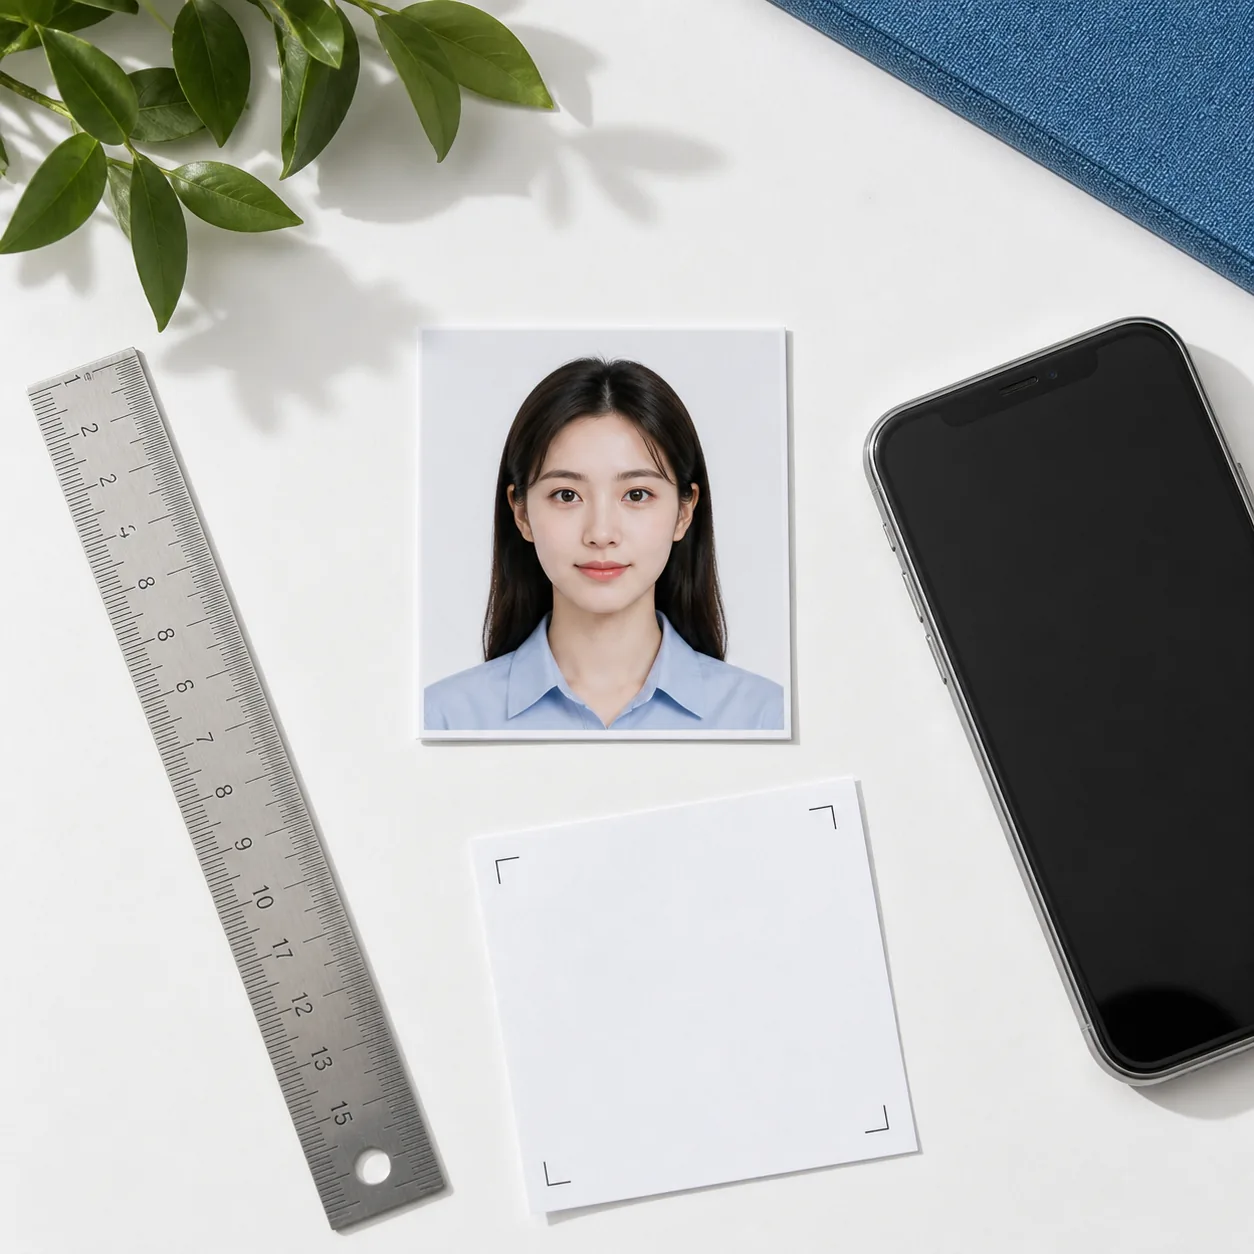
Check the 2x2 size before you submit
A 2x2 photo means two inches wide by two inches high, so the physical output is square. Pixel dimensions depend on the required resolution and upload portal. The references below are practical checks, not a universal approval rule.
| Check | Practical reference | What to verify |
|---|---|---|
| Physical size | 2 x 2 in / about 51 x 51 mm | Measure a printed copy if the form asks for a physical photo. |
| Aspect ratio | 1:1 square | Keep the face centered and do not stretch the image. |
| Pixel reference | 600 x 600 px at 300 DPI | Follow the portal if it lists a different pixel or file-size limit. |
| Print output | Actual size, no fit-to-page | Use a print layout and confirm the finished width and height. |
The U.S. Department of State, USCIS, embassies, schools, employers, and other organizations can publish different requirements. A 2x2 crop alone does not guarantee acceptance.
Common iPhone mistakes to avoid
Most failed home captures are caused by setup or review problems rather than the iPhone camera itself.
- Using a selfie held too close to the face, which can create wide-angle distortion.
- Standing in front of a window or a patterned wall that creates glare or background detail.
- Turning on Portrait mode, filters, face retouching, or an automatic background effect.
- Cutting off the top of the hair, chin, or shoulders before checking the required head position.
- Assuming 600x600 pixels, a white background, or a 2x2 crop automatically satisfies every authority.
- Printing with fit-to-page enabled and never measuring the finished photo.
What to do after taking the photo
Finish the workflow in this order so the capture and the final file stay easy to compare:
- Save the original iPhone frame and a working copy before making edits.
- Use the 2x2 Photo Maker to crop, set the square size, and export the needed format.
- Compare the background, head position, expression, glasses, and file limits with the current official checklist.
- For a paper submission, print at actual size, measure the copy, and keep a digital backup.
Ready to prepare the square file?
Use the 2x2 Photo Maker after you have a clean iPhone frame. It keeps the crop, size notes, background options, and print output together for the final review.
Open the 2x2 Photo MakerOfficial references to check
Use these first-party references for the current U.S.-style examples, then check the exact authority named on your own form. Requirements can change by country, document, and submission channel.
- U.S. Department of State passport photo requirements
Current U.S. passport photo guidance, including size, background, expression, and quality reminders. - U.S. Department of State photo tool
An official U.S. tool for checking and cropping a passport-style photo. - USCIS photograph guidance
A first-party reference to compare when a USCIS form or immigration workflow is involved.
2x2 passport photo on iPhone FAQ
Can I take a 2x2 passport photo with only an iPhone?
Yes, an iPhone can capture the starting portrait. You still need to crop and export the file to the requested size, and you must compare it with the current official rules for the document.
Should I use the front or rear iPhone camera?
Use the rear camera when someone can help or when the phone is on a tripod. If you work alone, the front camera and timer can work, but keep the phone far enough away to avoid wide-angle distortion and check the saved image carefully.
Is a 2x2 photo the same as 600x600 pixels?
Not always. Two inches by two inches describes the physical print size. 600x600 pixels is a common 300 DPI reference, but the receiving portal may require different pixels, DPI, compression, or file size.
Can I print the photo at home?
You can if the document accepts a printed photo and your printer can hold the physical dimensions. Use actual-size printing, avoid fit-to-page, and measure the finished copy before submission.
Does this method guarantee passport or visa approval?
No. The guide helps you create a clean starting file, but only the reviewing authority can decide whether the photo meets its current requirements.